| Capacties |
CD's
52 |
DVD/BluRay's
|
VHS
|
Other
|
|
| Dimensions |
Weight |
Ships |
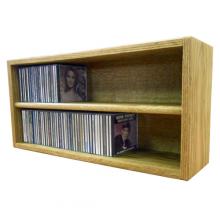
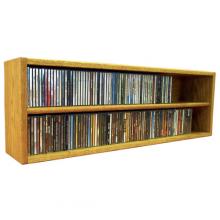
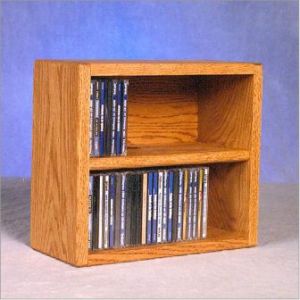
| 14.25"D x 12.75"W x 7"H (without feet) |
14 lbs |
UPS
1 box |
|
| Material |
Manufacturer |
| Solid Oak |
Hill Wood Shed |
|
| Approximate Assembly Time |
Tools Required |
| no |
n/a |
|
| Finish Choices: Honey Oak, Clear, Dark, Unfinished |
|
- Made in the USA.
- Solid oak-no particleboard-back is oak covered MDF.
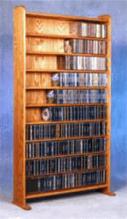
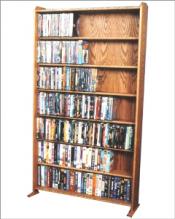
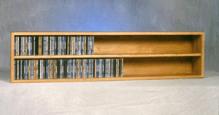
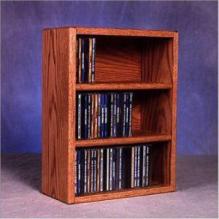
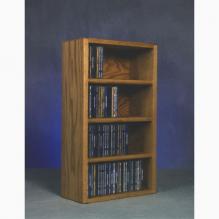
The oak dowels compliment the oak sides, and do not sag. These units can be placed either lengthwise or standing upright on a shelf, or mounted on a wall. *Note: instructions for mounting these units on a wall will be included, and must be followed exactly. All of the Wood Shed's units are shipped fully assembled with solid oak tongue and groove construction. We use no screws or particle board.
Constructed using solid red oak which offers strength and durability. The racks are hand finished with a Watco Danish oil called medium walnut and on the solid red oak wood, it gives you the color of Honey (pictured above). No two pieces of wood will accept the same stain therefore colors may vary slightly. Tongue in groove joinery (no screws used). Shipped fully assembled.
Wall Mounting Instructions
The solid oak storage units can be set on a shelf, tabletop or mounted on a wall.
- If you are putting it on a shelf, be certain that the shelf can hold the weight of this cabinet when full.
- If you intend to mount this unit on a wall, go to a local hardware store and purchase a piece of 1 1/2" angle iron either steel or aluminum about the length of your cabinet. It can be a little shorter. You may have to drill holes in it to match where the wall studs are in your wall. Attach the angle iron to your wall using screws, making certain to attach it to the wall studs and that it is level. You can attach it either with the back leg up (would set behind the cabinet when installed and will be less noticeable) or down. After you have done that, set your cabinet on the angle iron and put 2" wood screws with washers through the back of the cabinet toward the top into each wall stud. With the larger units as an added precaution, put more screws in the next row also. Using a small washer on the screws inside the cabinet will distribute the pressure on the back. This will keep the screw from possibly "popping through" the backing. The angle iron will support the weight of the unit and the screws with the washers will keep the unit against the wall. Adding a few screws with washers at the bottom of the unit, especially for the larger cabinet models is recommended. A few short small screws through the angle into the bottom of the cabinet will finish the installation.
If you need help with your installation feel free to call.
As with any real wood furniture, maintenance is a coat of paste wax made for wood twice a year. This will protect and beautify the wood. We use and recommend Johnson's paste wax.
|


